
Granny Square Sizing
Lessons from my first sampler blanket.
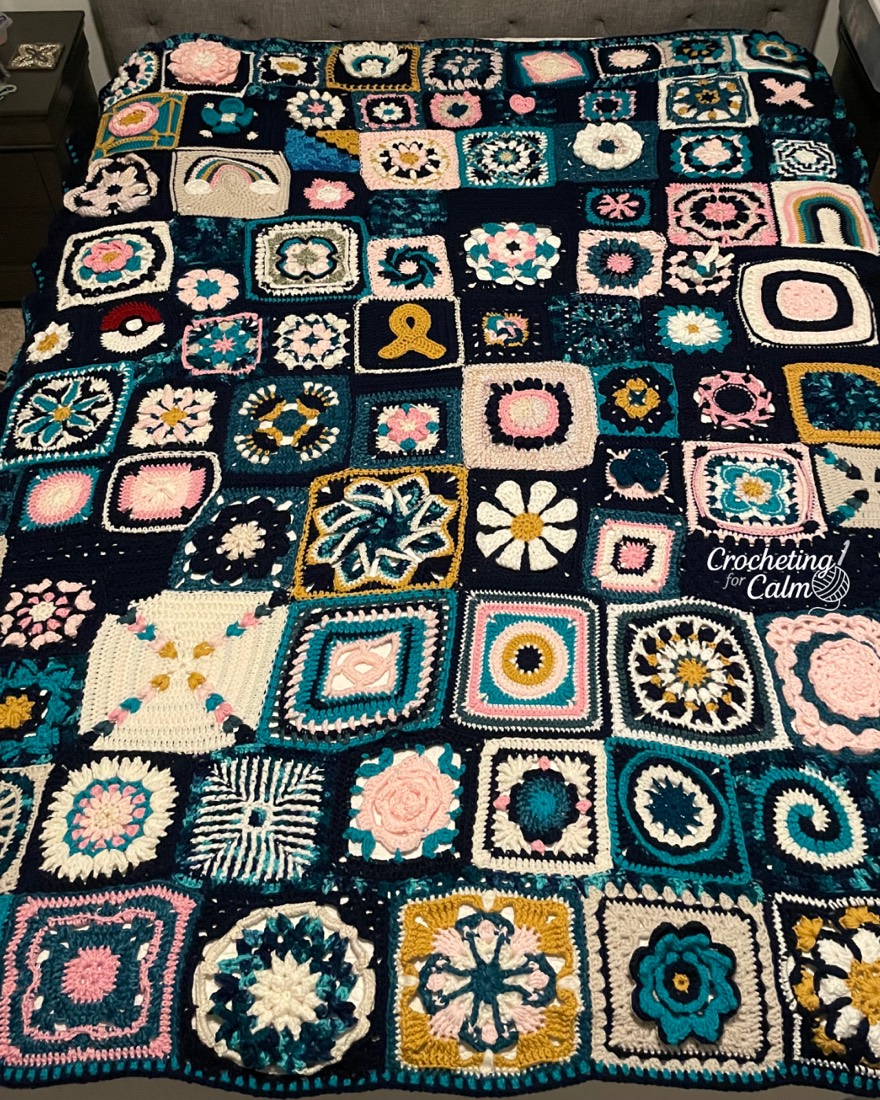
When I started my granny square journey in February 2026, I learned a lot of lessons the hard way. I thought I'd share those lessons with you today.
The myth
There are thousands of granny square patterns out there, and here's the thing nobody tells you up front: they are not the same. I went into this thinking they were mix-and-match, interchangeable — grab a pattern you like, grab another one you like, stitch them together, done. That assumption cost me.
What actually determines a square's finished size
A granny square's size isn't just "what the pattern says." It depends on a pile of factors stacking on top of each other:
- The yarn the designer used — different fibers and brands have different loft even at the same stated weight
- The yarn you actually have — same weight label does not mean same density
- The number of rows/rounds
- The size of the stitch in each row — a round of double crochet grows differently than a round of treble
- The hook size you use
- Your tension and the gauge you personally get — yes, gauge applies to grannies too, even though it doesn't feel like it should
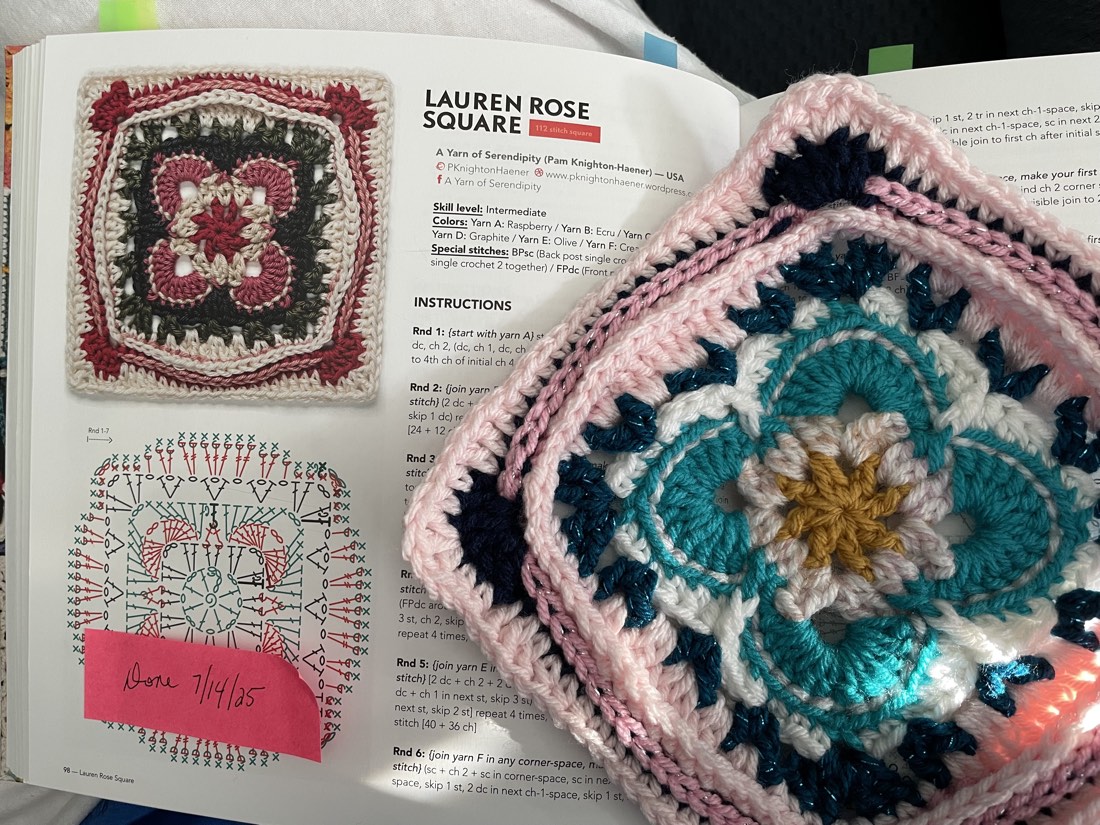
- Stitch count per square — The Ultimate Granny Square Sourcebook, for example, contains both 80-stitch and 112-stitch squares, and those two families aren't the same finished size
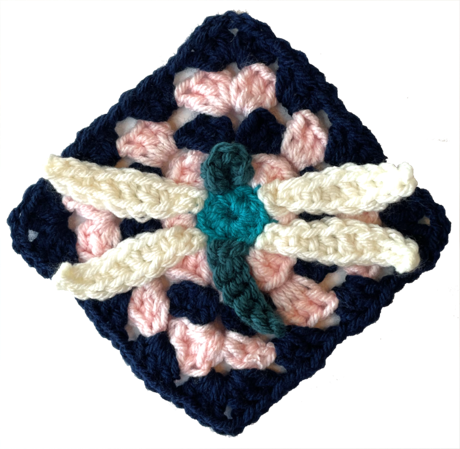
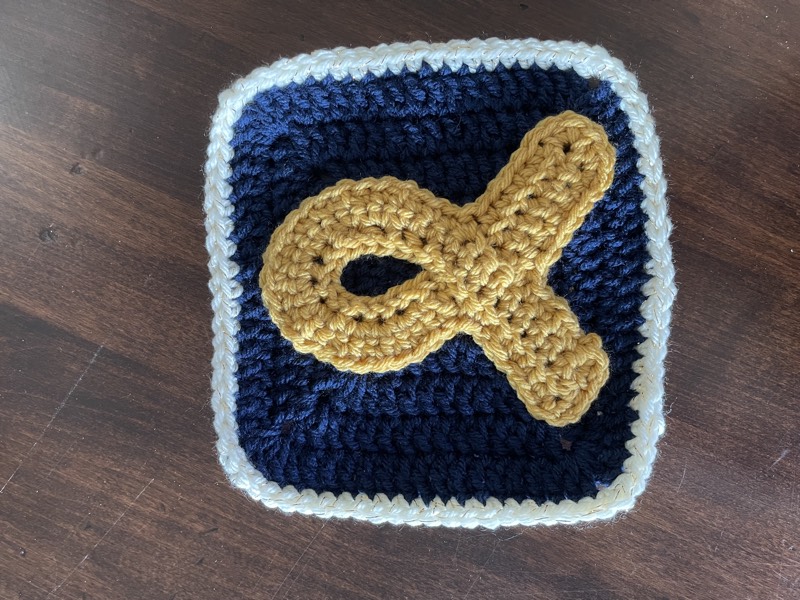
- How much detail the design carries — a 4" square worked in DK weight can only hold so many stitches. Simple, classic granny rounds hit that size easily, but anything with real detail — a recognizable shape, fine linework, a character — needs more rounds to read clearly. That's part of why the squares that caught my eye (the dragonfly, the childhood cancer awareness square) tended to run bigger than a basic granny to begin with: the detail demanded the extra real estate.
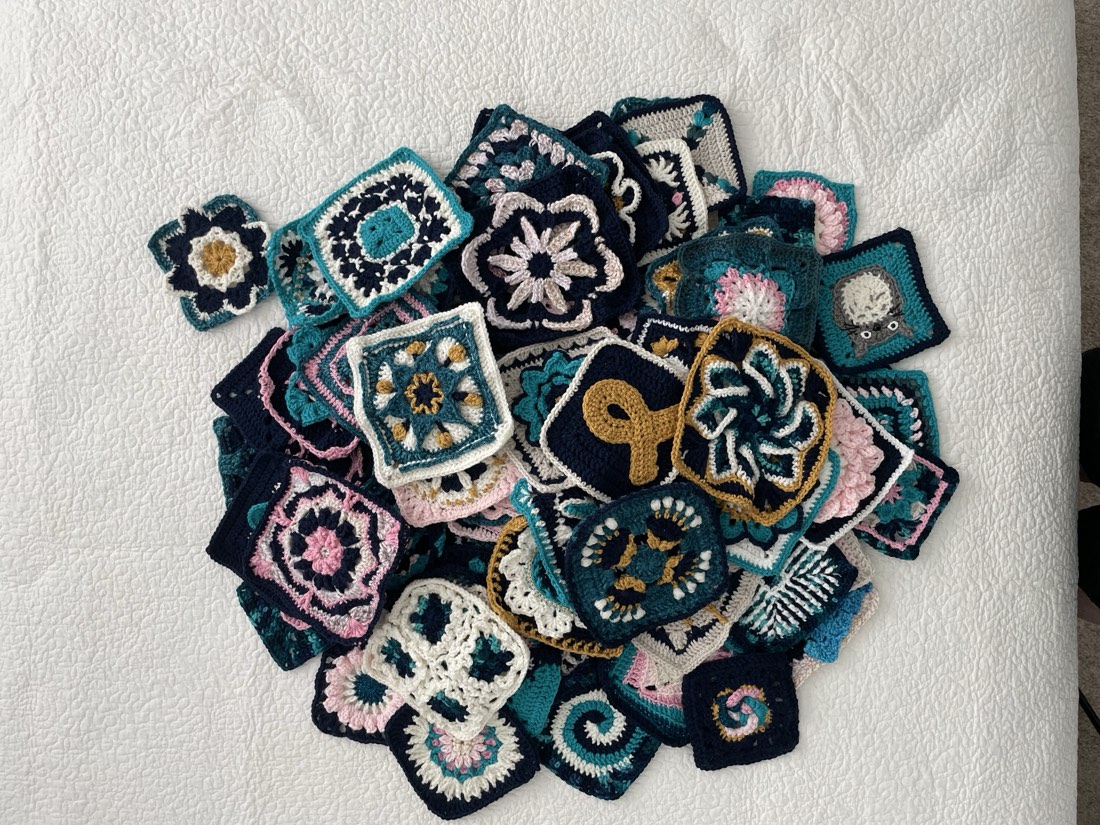
Any one of these can shift your result. All of them together is how you end up with a pile of squares that refuse to agree with each other.
Two paths to a matching sampler blanket
Path A: Use a source curated for consistency. Pick one book or deck and stay inside it for the whole blanket. The designer already solved the matching problem for you — same team, same conditions, same stitch-count family. It's the lowest-effort, most predictable route. The tradeoff is you're limited to whatever squares that one resource contains.
Path B: Let your creativity lead — and do the matching work yourself. This is what I actually did. I wanted a dragonfly square. I wanted a childhood cancer awareness square. I wanted squares that spoke to me, not just whatever happened to be in one book. Nothing wrong with that — but it means you become the consistency system that a curated source would otherwise give you for free. That means:
- Same yarn — brand, weight, and type — across every pattern, regardless of what each individual pattern calls for
- Same hook size across every pattern
- Swatching each new pattern before committing, checking it against your other finished squares
- Measuring after every round and adjusting rows up or down to hit your target size
- Keeping a square log so you can track what worked
Here's the honest part: I didn't know any of this when I started. I wasn't matching yarn, hook, or gauge from square one — I was just making squares I loved. By the time I understood what I actually needed to do, I already had a pile of squares that didn't agree with each other on much of anything. Joining them into one blanket was a genuinely huge undertaking — a lot of measuring, a lot of adjusting, a lot of problem-solving after the fact instead of before it.
Is the finished blanket perfect? Far from it. But it's a labor of love, and I wouldn't trade the dragonfly or the childhood cancer awareness square to get a tidier result. If you go this route, take the shortcut I didn't have: do the matching work before you have fifty squares to reconcile, not after. Every lesson below is so much cheaper to apply from the start than to retrofit at the end.
The lessons
- Use the exact same yarn for the whole blanket — brand, weight, and type. "Same weight" on the label is not a guarantee of the same result.
- Use the same hook size throughout, even when a pattern suggests something different.
- Test a square before committing to it. Check it against your target size before you make a second one.
- Measure after every round, not just at the end. Square growth isn't always linear, and catching drift early means a small correction instead of a big one.
- If a square lands the wrong size, don't panic-cut. You can't trim a finished round the way you'd trim fabric. If you haven't woven in your ends yet, you can frog (unravel) back to an earlier round and redo it. Otherwise, work an extra round to bring a smaller square up to match the others.
- "Curated for consistency" only means consistent with itself. A sampler book or card deck being internally matched doesn't mean it matches a different sampler book or deck. Pick one source and don't cross-pollinate.
How to measure a square
- Lay the finished square flat and unblocked — don't stretch it, don't press it, just let it sit as it naturally wants to.
- Measure straight across one side, edge to edge, not corner to corner.
- Do this after every round, not just at the end.
- A trick worth adopting: make one "reference square" in a single color first, and note how many stitch groups (e.g., 3-dc clusters) it takes per side to hit your target size. Then measure every new square against that reference — both by tape measure and by matching stitch-group count per side — rather than trusting the pattern's stated gauge alone.
What blocking can and can't fix
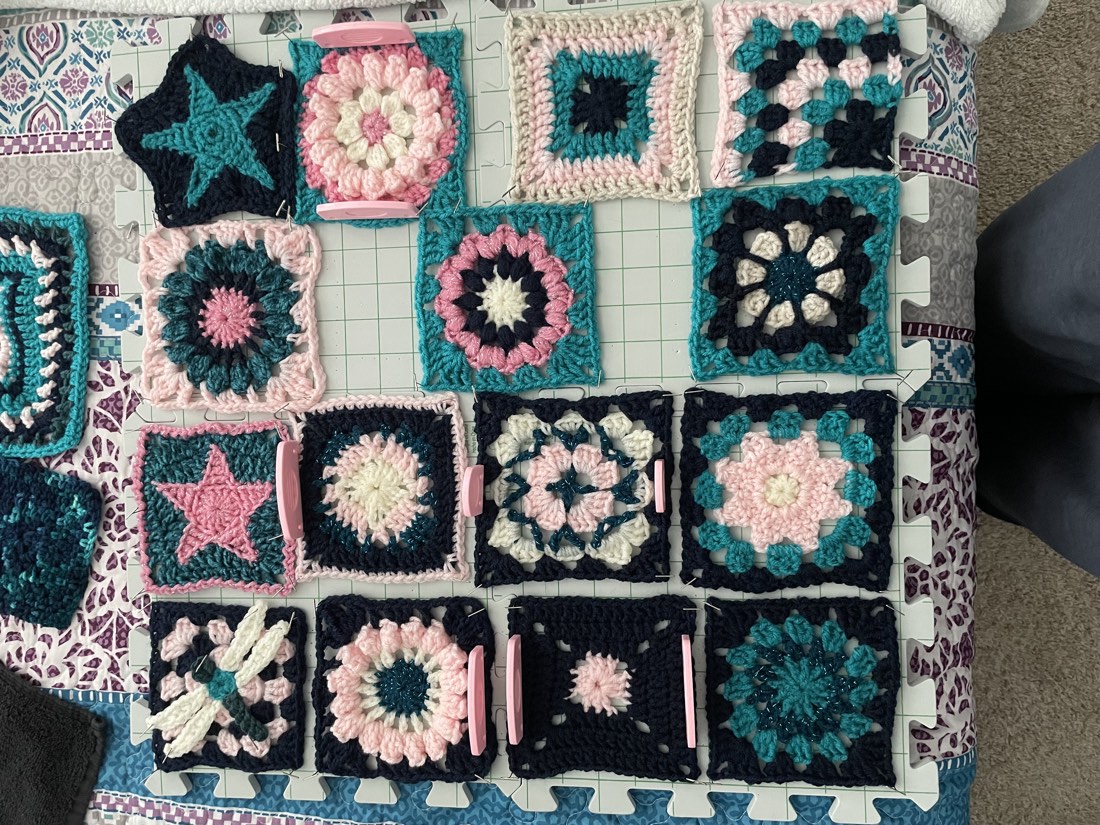
Blocking works by wetting or steaming fibers into a shape and letting them dry or cool that way — it relies on the fiber having some natural stretch and "memory," which is why it works so well on wool and other animal fibers.
Acrylic — extremely common in granny square yarn — doesn't block the same way. Regular wet or steam blocking has little lasting effect on it. "Killing" acrylic (blocking it with a hot iron to permanently flatten and relax the fibers) does work, but it's a higher-risk technique — too much heat can scorch or melt the yarn, and the effect is permanent.
Bottom line: don't count on blocking as a safety net for size mismatches if you're working in acrylic. Get the size right while you're making the square, not after.
Resources that actually help
- Simply Crochet's Granny Square Day supplements — 179 free patterns across four years of magazine supplements, and every year is built to the same modular scale (roughly 5–6", DK weight, 4.0mm hook), so any of them mix and match with each other. Free through your library's Libby app.
- The Ultimate Granny Square Sourcebook by Meteoor Books — Every square in this book was designed and swatched by the same team under consistent conditions, so squares within the same stitch-count family are built to go together.
- The Granny Square Card Deck by Claire Montgomerie — Heads up: there are a lot of counterfeit versions of this one circulating right now. Buy from the publisher or a trusted retailer, not a marketplace listing that looks a little too cheap.
- The Granny Square Stitches Card Deck: 50 Mix and Match Designs by Claire Montgomerie
- The Granny Square Flowers Card Deck: 50 Mix and Match Designs by Claire Montgomerie
Affiliate links — I earn a small commission at no cost to you.
All three Claire Montgomerie decks are the same publisher, same format, and finish at the same 4" square — so these three mix and match freely with each other.
Before you start: a quick checklist
- One yarn — brand, weight, and type — chosen for the whole blanket
- One hook size chosen for the whole blanket
- Reference square made and measured
- Square log started (yarn, hook, stitch count, finished size per square)
- Measuring after every round, not just at the end
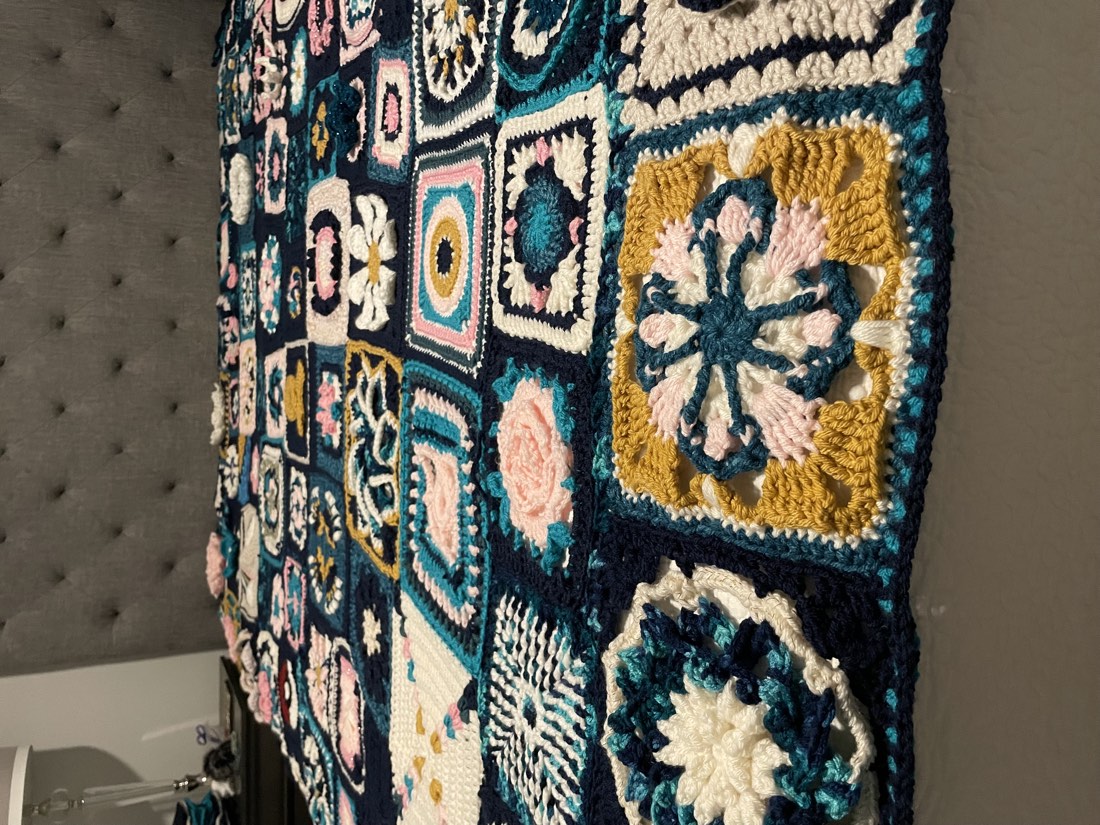
I'm not writing this to talk you out of the scattered, follow-your-heart approach — I'd do it again. I'm writing it so you can skip the hardest part of the undertaking that I didn't.